


1/5


Price with our 1001prime program More info
27.99 USD
In the USA 🇺🇸, Canada 🇨🇦 and the world 🌎 with UPS
A team of passionate people advises you by phone and chat
Colors
Colors
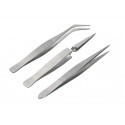
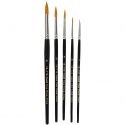
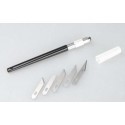
Tools
|
Scale : 1:35 Length (cm) : 5,5" / 14 cm |
| Brand | Revell |
|---|---|
| Reference | RV3237 |
| Type of product | Military model kit |
| Scale | 1:35 |
| Assembly | to be assembled and painted |
| Paint and glue | To be bought separately |
| Pieces | 185 |
| Length (cm) | 5,5" / 14 |
| Age + | 12+ |
| Difficulty | 4 - Difficult |
| Box size (cm) | 31 x 18 x 5 |
Model shop
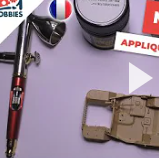
Discover Johan's tutorials and technical advice
Whether you're a beginner or an expert, our model-making experts offer you their technical advice. Assembly, painting, using an airbrush, etc. Dozens of tutorials are available on our Youtube channel.
Watch the tutorialsCustomer reviews
Calculated from 1 customer reviews
Bonne maquette, les détails sont très bien Bonjour à tous les maquettistes,Je viens de terminer cette très belle maquette, Si je peux vous donnez quelques conseils : Avant de passer à l'étape 4 qui consiste à assembler les trains de roulements, passez à l'étape 6 puis ensuite l'étape 7 sauf que vous ne devez pas fixer les roues car lors du montage des chenilles il faut bien faire correspondre les roues avec les chenilles qui viennent s'emboiter sur ces roues sinon on a des décalages donc commencez tout d'abord par fixer les pièces A7 sur le châssis (pièces B2 & B3) seulement là vous allez poursuivre l'étape 4 puis la 5.Seulement à ce moment là vous allez pouvoir mettre les roues 1"" & ""2"" sur leur axes pour ensuite venir positionner les chenilles (étape 11) afin d'être parfaitement synchrone.
A. AnonymousPzKpfw 35 (t
More than 150,000 products for your hobbies, including more than 15,000 in stock and shipped the same day
A team of passionate people advises you by phone and chat
In the USA 🇺🇸, Canada 🇨🇦 and the world 🌎 with UPS
Return within 14 days after your purchase
